
How to Propagate Hydrangeas: A Complete UK Guide
Learn how to propagate hydrangeas with our expert UK guide. Step-by-step instructions for softwood cuttings, timing, and care to grow new plants for free!
Key takeaways
- In the UK climate, there are three primary windows for taking hydrangea cuttings, each with varying levels of difficulty and time requirements.
- To ensure your new plants thrive, follow this professional nursery-standard method for taking softwood cuttings.
- Proper environmental control is what separates successful propagation from failure.
- After 4 to 6 weeks, look for signs of new green growth at the tip.
- Once rooted, your young hydrangeas need to be "hardened off." This is the process of gradually acclimatising them to outdoor conditions.
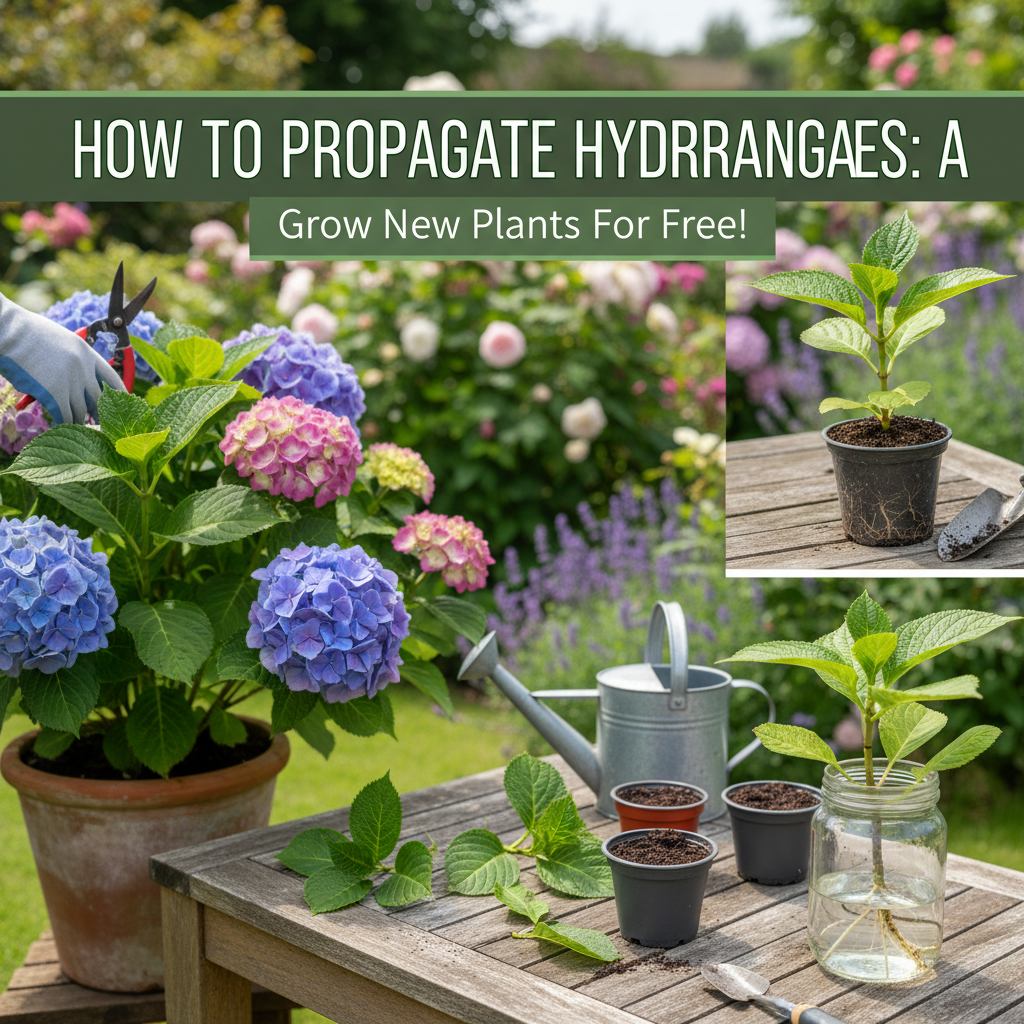
Knowing how to propagate hydrangeas from cuttings is the most reliable way to produce new, identical plants for free. The most successful method for UK gardeners is taking softwood cuttings during the late spring and early summer (May to July). By selecting non-flowering shoots and providing high humidity, these cuttings typically develop strong root systems within four to six weeks.
Tips Successful Hydrangea Propagation
- Best Time: May to July for softwood cuttings; autumn for hardwood cuttings.
- Nodal Advantage: Roots emerge most reliably from the "nodes" where leaves meet the stem.
- Humidity is Key: Cuttings need a moist environment to prevent wilting before roots form.
- Medium: Use a gritty, free-draining compost mix (50% peat-free multi-purpose, 50% perlite or horticultural grit).
- Success Rate: Softwood cuttings generally have a 70-90% success rate if kept out of direct sunlight.
When is the Best Time to Propagate Hydrangeas in the UK?
Timing is critical for successful propagation. In the UK climate, there are three primary windows for taking hydrangea cuttings, each with varying levels of difficulty and time requirements. The RHS recommends the softwood method for the fastest results.
| Cutting Type | Best Months (UK) | Difficulty | Time to Root |
|---|---|---|---|
| Softwood | May - July | Easy | 4 - 6 Weeks |
| Semi-ripe | August - September | Moderate | 6 - 10 Weeks |
| Hardwood | November - February | Easy but Slow | 6 - 9 Months |
How to Propagate Hydrangeas: A Step-by-Step Guide
To ensure your new plants thrive, follow this professional nursery-standard method for taking softwood cuttings. This approach works for Hydrangea macrophylla (mopheads and lacecaps), Hydrangea paniculata, and Hydrangea serrata.
1. Prepare Your Tools and Growing Media
Before cutting your plant, prepare a 9cm pot or a seed tray. Use a mixture of 50% peat-free compost and 50% perlite or sharp sand. This ensures excellent drainage, which prevents the base of the stem from rotting. Ensure your secateurs or garden knife are sharpened and disinfected with methylated spirits to prevent the spread of disease.
2. Selecting the Best Shoots
Look for fresh, green growth from the current season. The ideal shoot is one that does not have a flower bud at the tip. Flowering stems divert energy away from root production, significantly lowering your success rate. Choose a healthy stem that is firm but flexible, roughly the thickness of a pencil.
3. Making the Cut
Cut a 10cm to 15cm (4-6 inch) length of the stem. Make the bottom cut directly below a leaf node (the bump where leaves emerge). Use a sharp blade to ensure a clean cut, as ragged edges are susceptible to fungal infections. Roots are packed with concentrated growth hormones at these nodes.
4. Preparing the Cutting
Remove the lower leaves, leaving only the top pair of leaves. If the remaining leaves are very large, as is common with H. macrophylla, many experts recommend cutting the top half of each leaf off horizontally. This reduces water loss through transpiration, which is vital since the cutting has no roots to take up water yet.
5. Hormones and Planting
While hydrangeas root relatively easily, dipping the base of the stem into rooting hormone powder or gel can accelerate the process. Insert the cutting into your prepared pot so that the first set of removed nodes is submerged. Firm the compost gently around the stem to remove air pockets.
Where Should You Keep Your New Cuttings?
Proper environmental control is what separates successful propagation from failure. Your cuttings need light, warmth, and high humidity, but they must be protected from the harsh British midday sun.
- Light: Place in a bright spot with filtered light. A north-facing windowsill or a shaded spot in a greenhouse is ideal.
- Humidity: Cover the pot with a clear plastic bag or place it in a heated propagator. If using a bag, use "tent pegs" or sticks to ensure the plastic does not touch the leaves, as this can cause rot.
- Airflow: Remove the cover for 10 minutes every few days to allow fresh air to circulate and prevent Botrytis (grey mould).
How Do You Know if the Cuttings Have Rooted?
Resist the urge to pull on the cuttings to check for roots! After 4 to 6 weeks, look for signs of new green growth at the tip. You can also check the drainage holes at the bottom of the pot; if you see white root tips appearing, the plant is ready for the next stage. Gently tugging the stem - if there is resistance, roots have formed - is a secondary method, but should be done with extreme care.
Potting On and Hardening Off
Once rooted, your young hydrangeas need to be "hardened off." This is the process of gradually acclimatising them to outdoor conditions. Move them to a cold frame or a sheltered spot outside during the day and bring them in at night for a week. Pot them into individual 1-litre pots using standard potting compost. In the UK, it is often best to keep these young plants in a sheltered spot or an unheated greenhouse through their first winter before planting them in their final garden positions the following spring.
Common Problems When Propagating Hydrangeas
Why are my hydrangea cuttings wilting?
Wilting usually occurs because the humidity is too low or the leaves are too large. Ensure the cutting is covered with plastic and that you have trimmed the leaves by half to reduce moisture loss. If the compost is soaking wet, the cutting may be wilting due to root rot.
Why are the stems turning black?
Black stems are a sign of fungal decay. This is often caused by overwatering, poor drainage, or using dirty tools. Always use a gritty compost mix and ensure your secateurs are sterile.
Frequently Asked Questions: Propergating Hydrangeas
Can you root hydrangea cuttings in water?
Which hydrangea variety is easiest to propagate?
Will a cutting from a blue hydrangea stay blue?
Do I need a greenhouse to propagate hydrangeas?
Should I take cuttings from old wood or new wood?
Tags
Comments
Join the conversation
Create a free account to leave comments, share photos, and connect with other gardeners.
Related Articles

Best Garden Lighting: The Ultimate UK Homeowner's Guide
Discover the best garden lighting options for UK homes. From solar DIY to professional mains systems, learn about IP ratings, wildlife safety, and more.

How to Create a Traditional English Garden: The Ultimate UK Guide
Transform your outdoor space with our guide to traditional English gardens. Learn design secrets, plant selection, and UK-specific maintenance tips now!

How to Install a Solar-Powered Garden Pond: UK Guide
Learn how to install and maintain a solar-powered garden pond in the UK. Discover expert tips on placement, plant selection, and the best solar pumps.

Best Plants for Shade UK: North Facing Garden Guide
Discover the best plants for shade UK gardens. Our guide covers north-facing garden ideas, ferns, hostas, and shrubs to transform your shady borders today.

Garden Plant Diseases UK: Identify & Treat Common Problems
Identify and treat common UK garden plant diseases with our expert guide. Learn to spot fungal blights and bacterial cankers to keep your garden healthy.

Best Tasting Tomato Varieties UK 2026
Discover the best tasting tomato varieties UK 2026. From the sweetest cherry tomatoes to rich heirlooms, learn which varieties win on flavour and yield.