
How to Install the Hyundai HY3500RVi RV Petrol Generator (Step-by-Step Guide)
Learn how to install the Hyundai HY3500RVi RV petrol generator with this step-by-step guide. Includes safety tips, setup advice, FAQs, and expert insights.
Key takeaways
- Before diving into installation, here’s why this model is worth considering: 👉 tip: If you’re building a full off-grid setup, pair this with a battery management system and solar panels for hybrid energy use.
- Installing a petrol generator involves fuel, exhaust gases, and electrics - so safety is critical.
- To install the HY3500RVi, you’ll typically require: 👉 A complete RV generator installation kit can save time and ensure compatibility - look for kits with vibration mounts and exhaust components included.
- The generator is shipped without oil , so this step is essential: Carefully inspect your RV or van: 💡 A poor location can lead to overheating or dangerous fumes entering the vehicle.
- Keep your generator running smoothly: The Hyundai HY3500RVi is a powerful, compact solution for RV owners who need reliable off-grid electricity.
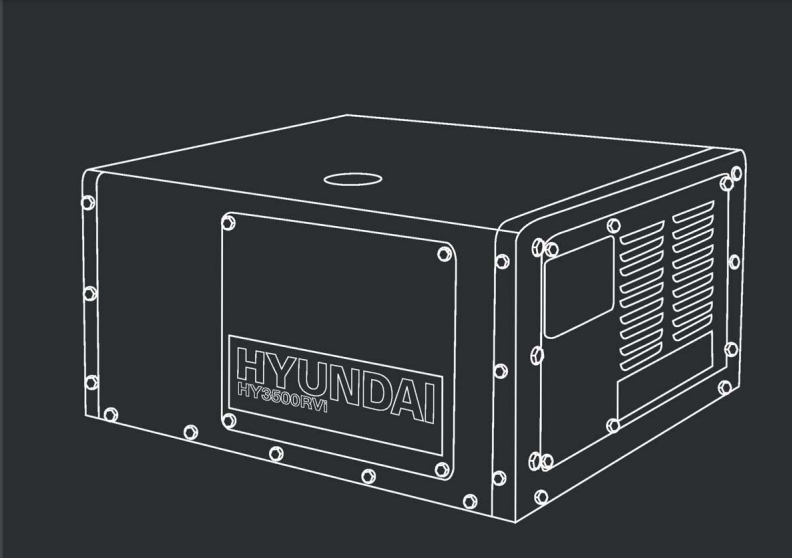
Installing a built-in RV generator can transform your off-grid experience - powering everything from tools to appliances wherever you travel. The HY3500RVi RV Petrol Generator from Hyundai Power Products is a popular choice for motorhomes and campervans thanks to its compact design, inverter technology, and reliable 3.5kW output.
In this fully optimised guide from Garden-Review, we’ll walk you through how to install the HY3500RVi safely, key setup tips, and what to avoid- plus answer common questions to help you get the most from your generator.
Why Choose the Hyundai HY3500RVi Generator?
Before diving into installation, here’s why this model is worth considering:
- ✔️ 3.5kW max output – ideal for RV appliances and tools
- ✔️ Digital inverter technology – stable, clean power
- ✔️ Remote LCM controller – easy operation inside your vehicle
- ✔️ Compact under-mount design – perfect for campervan conversions
- ✔️ 24L external fuel tank – extended runtime
👉 tip: If you’re building a full off-grid setup, pair this with a battery management system and solar panels for hybrid energy use.
⚠️ Safety First (Don’t Skip This)
Installing a petrol generator involves fuel, exhaust gases, and electrics - so safety is critical.
- ✅ Never install or run in enclosed spaces (carbon monoxide risk)
- ✅ Always use proper PPE (gloves, hearing protection, workwear)
- ✅ Fuel is highly flammable - keep away from sparks
- ✅ The generator is heavy - lift with assistance
- Professional installation is strongly recommended
Tools & Materials You’ll Need
To install the HY3500RVi, you’ll typically require:
- Mounting brackets or slide-out frame
- Anti-vibration mounts
- Exhaust sealant paste & heat wrap
- Fuel-grade hoses
- 10mm² copper wiring
- Engine oil (SAE 15W-40, 500ml)
👉 A complete RV generator installation kit can save time and ensure compatibility - look for kits with vibration mounts and exhaust components included.
Step-by-Step Installation Guide
1. Add Engine Oil (Before Anything Else)
The generator is shipped without oil, so this step is essential:
- Open the front panel
- Remove dipstick
- Add 500ml SAE 15W-40 oil
- Fill to the upper mark and secure
2. Choose the Right Mounting Location
Carefully inspect your RV or van:
- Ensure clear airflow to the intake
- Avoid chassis, brake lines, and wiring
- Plan routing for exhaust and fuel tank
💡 A poor location can lead to overheating or dangerous fumes entering the vehicle.
3. Mount the Generator
You have two main options:
Fixed Mount:
- Attach to generator frame
- Fit anti-vibration mounts
- Secure to chassis
Slide-Out Mount:
- Attach mounts to base
- Fix to slide-out tray for easier servicing
4. Install the Exhaust System
- Mount exhaust underneath the vehicle
- Use flexi pipe for alignment
- Apply exhaust sealing paste
- Add heat wrap if needed
⚠️ Exhaust gases must exit away from doors and windows.
5. Install the Fuel Tank
The HY3500RVi uses a separate fuel tank:
- Mount in a safe, ventilated area
- Use fuel-grade hoses only
- Ensure the filler cap is externally accessible
👉 Tp: Consider a lockable external fuel filler cap for added security.
6. Fit the Remote LCM Controller
- Install inside your vehicle
- Ensure easy access and visibility
- Connect via supplied USB cable
This allows you to control the generator without going outside.
7. Connect to the Battery
- Use 10mm² copper wires or higher
- Keep cable runs short
- Ensure secure, insulated connections
⚡ Poor wiring = poor performance and potential hazards.
8. Install Main Power Switch
Position the ON/OFF switch:
- Close to the controller
- Easy to access in emergencies
First Start-Up (Quick Checklist)
- Turn main switch ON
- Press Power ON on controller
- Wait for AC OFF display
- Let engine idle before adding load
✔️ Always connect appliances after startup
How to Avoid Overloading
To protect your generator:
- Add total wattage of devices
- Ensure it’s below 3.5kW max output
-
Use formula:
Watts = Volts × Amps - Start large motors first
Maintenance Tips for Long-Term Performance
Keep your generator running smoothly:
- Check oil before every use
- Clean air filter regularly
- Inspect exhaust system
- Replace fuel lines every 3 years
- Service every 100 hours / 6 months
The Hyundai HY3500RVi is a powerful, compact solution for RV owners who need reliable off-grid electricity. While installation is more involved than portable generators, the payoff is seamless onboard power wherever you go.
👉 If you’re building a serious campervan or motorhome setup, this generator is best paired with:
- A solar charging system
- Leisure batteries
- Smart power management
Ready to Upgrade Your RV Power?
If you’re serious about off-grid living or long-distance touring, the HY3500RVi is a solid investment - but only when installed correctly.
Frequently Asked Questions: How to Install the Hyundai HY3500RVi RV Petrol Generator
Do I need a professional to install the HY3500RVi?
Can I install this generator inside my van?
What oil does the HY3500RVi use?
How much power can the Hyundai HY3500RVi RV Generator handle?
Can I run sensitive electronics?
What happens if I overload it?
Tags
Comments
Join the conversation
Create a free account to leave comments, share photos, and connect with other gardeners.
Related Articles
P1 P1000i 1000W Petrol Inverter Suitcase Generator Review
The P1 P1000i is a lightweight and affordable inverter generator designed for low-power applications. It’s ideal for charging electronics and running small appliances while camping, but its limited output means it won’t handle high-demand devices.
Hyundai Inverter Generator Buying Guide (2026)
Discover the latest Hyundai inverter generator range for 2026 in this comprehensive buying guide, covering everything from ultra-portable camping models to powerful home backup units. Whether you need quiet, fuel-efficient power for caravans, van life, or off-grid living, Hyundai’s inverter generators deliver clean pure sine wave electricity for safe use with sensitive electronics. Explore detailed comparisons, key specifications, and expert mini-reviews to help you choose the perfect generator for your needs.
Hyundai Scarifier and Aerator Buying Guide (2026)
Revitalise your lawn with our Hyundai scarifier and aeraror buying guide. Compare top petrol and electric models to remove thatch and improve grass health.
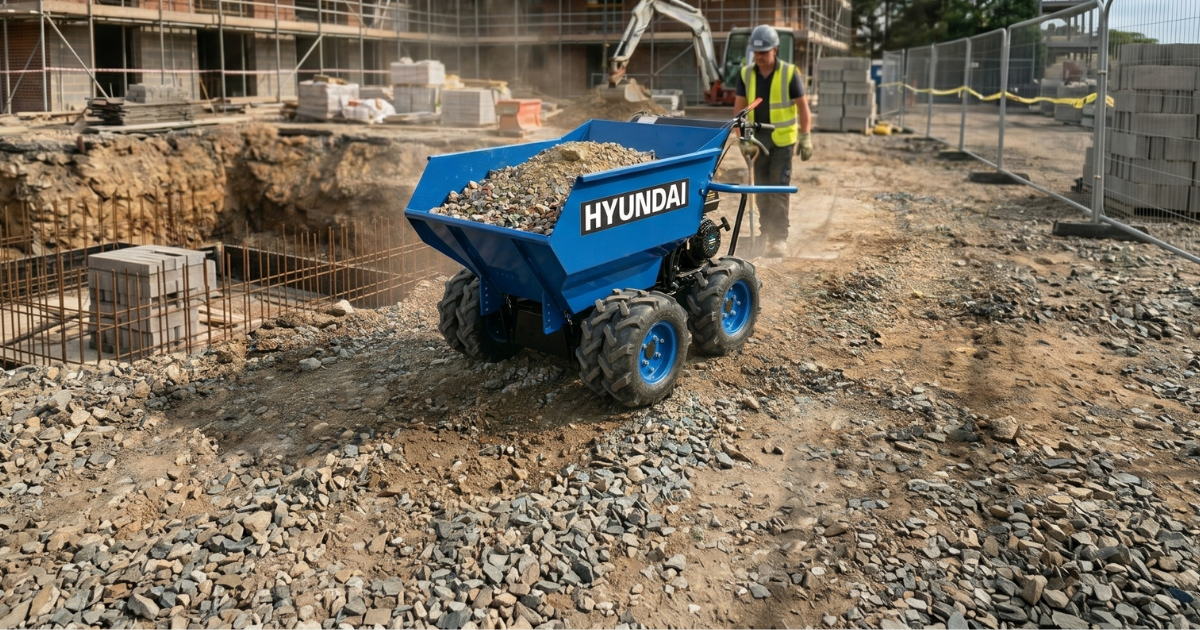
Hyundai HYMD500 500kg 196cc 4x4 Drive Mini Dumper Review
The Hyundai HYMD500 500kg 4x4 mini dumper is a powerful petrol-powered power barrow designed for heavy-duty material handling across construction sites, farms, and large gardens. With a robust 196cc engine, all-terrain 4WD traction, and high load capacity, it offers a reliable and cost-effective alternative to manual wheelbarrows and premium mini dumpers.
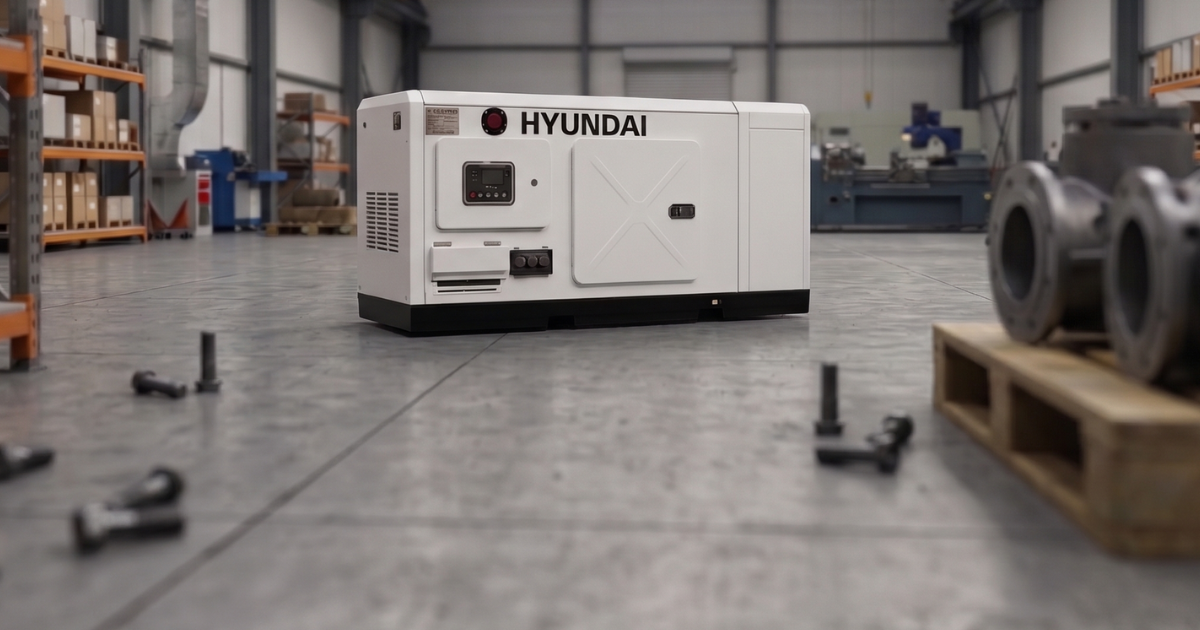
Hyundai DHY18COM-1 Review: 17kW / 20.4kVA* Compact Diesel Generator, S 1500rpm, Single Phase
A compact, professionally specified 17kW diesel generator with a 4-cylinder water-cooled engine, DSE6120 MKIII control panel, AVR alternator, ATS compatibility, and red diesel approval - engineered for prime power and serious standby use.
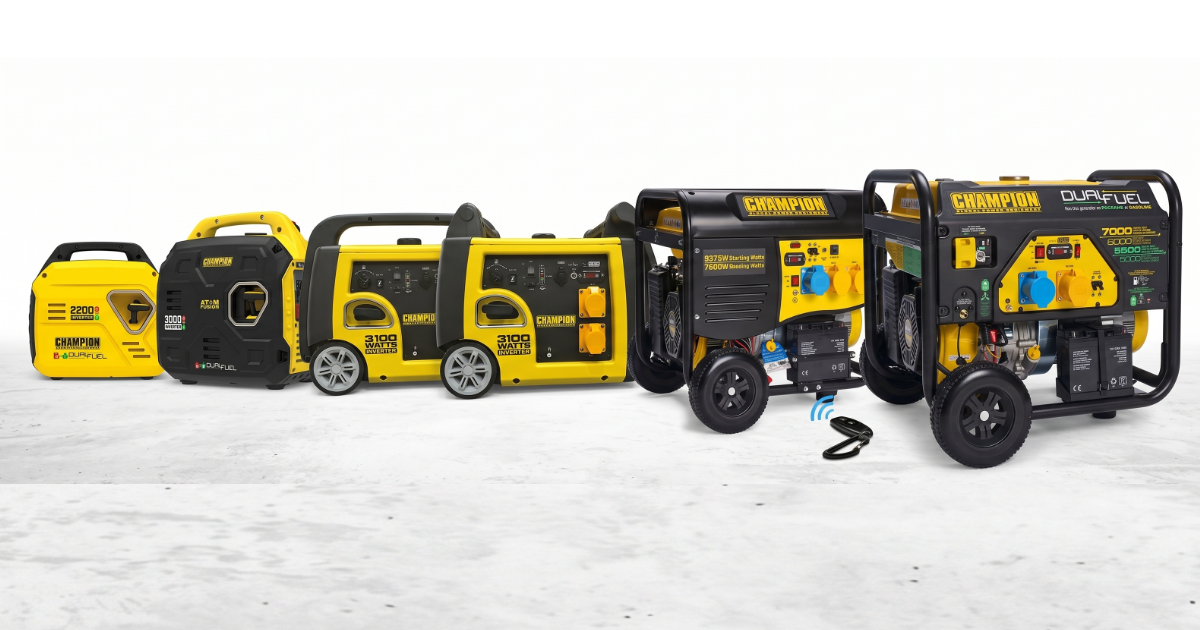
Champion Generator Buying Guide
Which Champion generator is right for you? Camping, caravan, home backup or trade - a plain-English guide to every model in the range