
How to start seeds indoors: beginners' UK guide
Learn how to start seeds indoors as a beginner in the UK. Get essential tips and equipment for a thriving garden season!
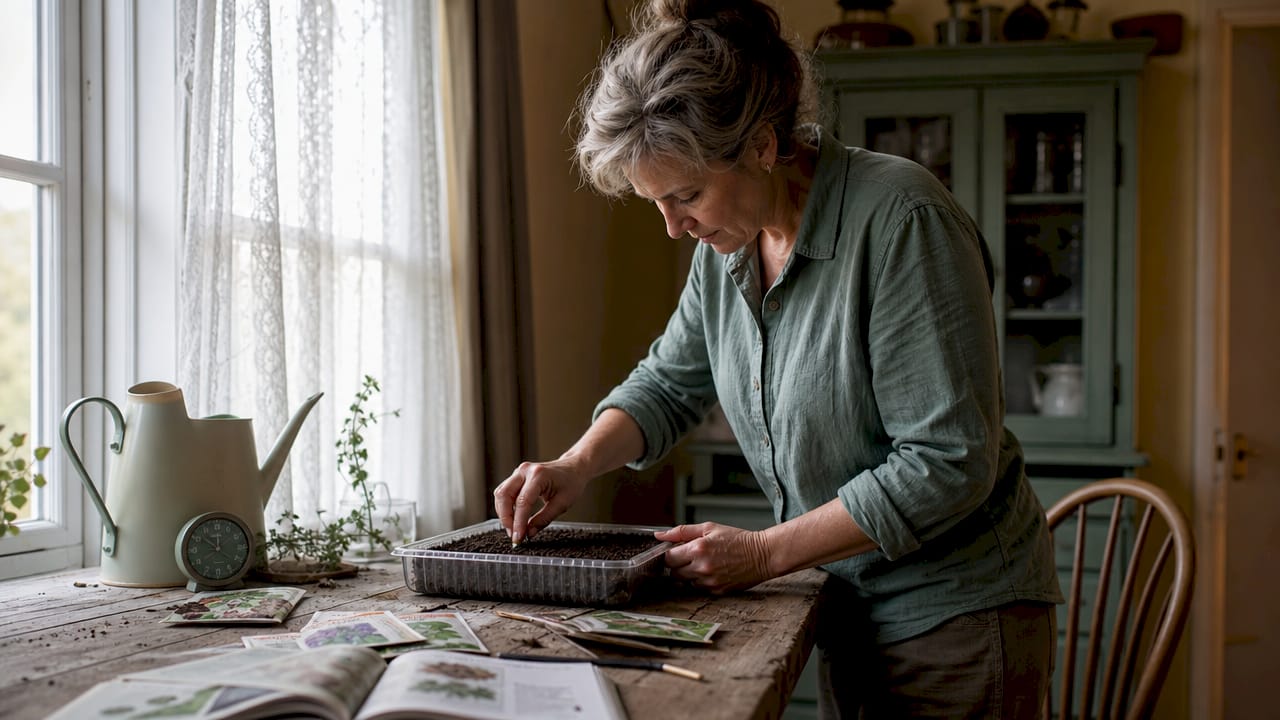
Starting seeds indoors is the most effective way for beginner gardeners to get a head start on the UK growing season, extend crop choices, and save money on young plants. Known more formally as indoor propagation, this method gives you full control over germination conditions before outdoor temperatures are reliable. The right setup requires seed trays, a sterile seed starting mix, LED grow lights, and a heat mat for warmth-loving crops. Timing everything around your local last frost date is the single most important factor in getting it right.
What equipment do beginners need to start seeds indoors?
Good indoor seed starting supplies do not need to be expensive, but each item serves a specific purpose. Buying the wrong things, or skipping key items, is one of the most common reasons beginners struggle in their first season.
Here is what you need before you sow a single seed:
- Seed trays or small pots with drainage holes. Water must be able to escape, or roots will rot. Modular plug trays work well because each cell holds one seedling without root disturbance at transplant time.
- Sterile seed starting mix. Do not use garden soil or standard potting compost. Seed starting mix is lighter, drains better, and carries far fewer pathogens. Sterile seed starting mix reduces fungal disease and improves germination rates significantly.
- Humidity dome or clear plastic cover. This traps warmth and moisture during germination. Remove it as soon as sprouts appear to prevent mould.
- LED grow lights. Window light alone is not enough. Window light is insufficient for strong seedling growth, and LED shop lights rated at 6,000 to 6,500K are the recommended choice. Keep them just 5 cm above the tray tops.
- Heat mat. Heat mats help germinate warmth-loving crops like tomatoes and peppers by raising soil temperature to the level these seeds require. Once sprouts emerge, remove the mat.
- Labels and a waterproof marker. You will forget which variety is which within a week. Label every tray or cell at the point of sowing.
- Spray bottle or watering ball. Fine misting avoids disturbing tiny seeds or snapping fragile stems.
Pro Tip: Place your seed-starting setup somewhere you walk past every day, such as a kitchen counter or hallway shelf. Consistent daily monitoring catches moisture problems, temperature drops, and light issues before they cause real damage.
How should beginners choose and prepare seeds for indoor sowing?
Not every seed benefits from indoor starting. Some crops, such as carrots, parsnips, and beetroot, dislike root disturbance and grow better sown directly outdoors. The seeds that genuinely benefit from indoor propagation are those that need a long growing season or require warmth to germinate reliably in the UK climate.
Follow these steps when selecting and preparing your seeds:
- Choose the right crops. Tomatoes, peppers, aubergines, and brassicas such as cabbage and broccoli are ideal for indoor starting. Begin with easy seeds like tomatoes, courgettes, and lettuce if this is your first attempt. These germinate quickly and give you early confidence.
- Read the seed packet carefully. Every packet states the recommended sowing period, planting depth, and days to germination. The last frost date guidance on the packet is your anchor point for timing.
- Pre-treat seeds if required. Some seeds, particularly sweet peas and nasturtiums, germinate faster after soaking overnight in warm water. Others, like parsley, benefit from a brief chill in the fridge. The packet will indicate if pre-treatment is needed.
- Moisten your seed starting mix before filling trays. Dry seed starting mix can be hydrophobic, meaning water runs off rather than soaking in. Pre-moistening the mix before filling trays ensures proper seed contact and even moisture distribution from the start.
- Sow at the correct depth. A general rule is to plant seeds at a depth of two to three times their width. Very fine seeds, such as those of celery or lobelia, are simply pressed onto the surface and not covered.
- Sow two to three seeds per cell. This accounts for seeds that fail to germinate. Thin seedlings to one per cell once the first true leaves develop, keeping the strongest plant and removing the others by snipping at soil level rather than pulling.
Pro Tip: Use a lightweight sterile mix rather than multipurpose compost. The finer texture reduces the risk of fungal issues like damping off, which kills seedlings at the base and spreads rapidly in damp, dense growing media.
For more detail on timing your first sowings, the Garden-Review guide on what to sow in February covers early-season indoor crops in depth.
What are the best practices for growing seedlings indoors?
Once seeds germinate, the focus shifts entirely to keeping seedlings strong and healthy until they are ready to go outside. This stage is where most beginners lose plants, usually through poor light, overwatering, or insufficient airflow.
Lighting is the most critical factor. Maintain 12 to 16 hours of light daily using LED or fluorescent grow lights positioned no more than 5 cm above the tops of the seedlings. Raise the lights as plants grow taller. Seedlings that do not get enough light become leggy, with long, weak stems that struggle to support themselves outdoors.
Watering requires a consistent approach. Keep the growing medium damp but never waterlogged. The most reliable method is bottom watering: pour water into the base of the tray and allow the compost to absorb it upward. This encourages roots to grow downward and avoids wetting the stems, which reduces disease risk. Check moisture levels daily by pressing a finger lightly into the surface of the mix.
Temperature management matters more than most beginners expect. Heat mats are useful before germination, but cooling seedlings after germination leads to sturdier, more compact growth. A room temperature of around 15 to 18 degrees Celsius suits most seedlings after they have sprouted.
Airflow is often overlooked entirely. Running an oscillating fan for one to two hours daily strengthens stems through gentle movement and reduces the humid, still air that encourages fungal disease. This single step makes a measurable difference to the quality of seedlings at transplant time.
Feeding begins only after the first true leaves appear, not the seed leaves. Use a liquid fertiliser at half the recommended strength to avoid scorching young roots.
Pro Tip: Remove humidity domes the moment you see the first sprouts. Leaving them on too long creates the warm, damp conditions that cause damping off, a fungal disease that collapses seedlings at the base overnight.
How do you know when seedlings are ready to transplant outdoors?
Transplanting too early is as damaging as starting seeds too late. Seedlings need to be genuinely ready before they face outdoor conditions.
A seedling is ready to transplant when it has two to four true leaves and a visible, firm root system. True leaves are the second set of leaves that appear after the seed leaves, and they look like miniature versions of the adult plant's foliage. If roots are circling the bottom of the cell or poking through drainage holes, the plant is ready and should not wait much longer.
Follow these steps for a safe transition outdoors:
- Calculate your sowing date from your last frost date. Seeds are started indoors about 6 to 8 weeks before the local last frost date. In most parts of the UK, this falls between late March and mid-May depending on region.
- Harden off your seedlings over 7 to 10 days. Begin by placing trays outside in a sheltered spot for one to two hours on the first day. Increase outdoor exposure gradually each day, introducing more sun and wind over the course of the week. This process adapts plants to temperature swings, UV light, and wind that they have never experienced indoors.
- Transplant on an overcast day or in the evening. Direct sun on freshly transplanted seedlings causes wilting and stress. Cooler, cloudy conditions give roots time to settle before facing full sun.
- Water thoroughly immediately after transplanting. This settles the soil around the roots and removes air pockets that can dry out fine root hairs.
- Monitor closely for the first week. Watch for wilting, pest damage, or signs of drying out. A light covering of horticultural fleece protects against unexpected cold snaps.
Pro Tip: Use a local frost date calculator rather than generic online advice. A seed starting schedule anchored to your specific postcode or region is far more reliable than national averages, which can be off by two to three weeks in northern England or Scotland.
For a full walkthrough of getting transplants into the ground, the Garden-Review article on planting your first garden covers spacing, soil preparation, and aftercare in detail.
What mistakes do beginners make with indoor seed starting?
Most beginner failures come down to a handful of predictable errors. Recognising them in advance saves a great deal of frustration.
- Starting too early. Starting seeds too early is the most common fatal mistake. Seedlings outgrow their containers before outdoor conditions are safe, becoming root-bound and leggy with nowhere to go.
- Using garden soil or poor-quality compost. Garden soil compacts in containers, drains poorly, and carries diseases that kill seedlings quickly. Always use a sterile seed starting mix.
- Insufficient light. Seedlings placed on a windowsill without supplemental lighting stretch toward the glass and become weak. Even a south-facing window in February provides only a fraction of the light a grow light delivers.
- Overcrowding. Sowing too many seeds in one cell or pot creates competition for light, water, and nutrients. Thin ruthlessly once germination is confirmed.
- Leaving humidity domes on too long. Once sprouts appear, the dome must come off. Warm, stagnant air beneath a dome is the ideal environment for damping off.
- Not labelling trays. Tomato and pepper seedlings look almost identical at the two-leaf stage. Label everything at the point of sowing, not after.
- Ignoring local frost dates. Generic sowing advice written for southern England does not apply to gardeners in Yorkshire, Wales, or Scotland. Always check your local last frost date before setting a sowing schedule.
Pro Tip: Make a simple seed-starting calendar on paper or a spreadsheet. Write your local last frost date at the top, then count back 6 to 8 weeks for each crop you plan to grow. This single habit prevents the majority of timing mistakes.
Key takeaways
Successful indoor seed starting depends on correct timing, the right growing medium, adequate artificial light, and consistent daily care from germination through to transplanting.
| Point | Details |
|---|---|
| Timing is everything | Sow seeds 6 to 8 weeks before your local last frost date, not a generic national average. |
| Use the right growing medium | Sterile seed starting mix prevents fungal disease and improves germination compared to garden soil. |
| Artificial light is non-negotiable | LED grow lights at 5 cm clearance for 12 to 16 hours daily prevent leggy, weak seedlings. |
| Harden off before transplanting | Gradually expose seedlings to outdoor conditions over 7 to 10 days to prevent transplant shock. |
| Avoid the most common mistake | Starting seeds too early produces overgrown, root-bound plants that struggle when moved outside. |
Why I think most beginner advice misses the point
Most guides tell you to "follow the seed packet." That is fine as far as it goes, but it leaves out the most important variable: where you actually live. A gardener in Cornwall and a gardener in Aberdeen are working with last frost dates that can differ by six weeks or more. Generic advice written for a national audience will send one of them outside too early and leave the other waiting unnecessarily.
My honest advice is to start smaller than you think you need to. Pick two or three crops, tomatoes and courgettes are ideal, and do those well rather than sowing fifteen varieties and managing chaos. A small, well-monitored setup on a kitchen shelf will outperform a sprawling, neglected propagation station every time.
The other thing beginners consistently underestimate is light. A bright windowsill feels like enough, but seedlings grown under a proper LED grow light are noticeably stockier and stronger within two weeks. That difference at transplant time translates directly into better yields and fewer losses. If you take one piece of equipment seriously, make it the light.
— Jim Fellows
Start your growing season with confidence
Whether you are sowing your first tomato seeds or planning a full kitchen garden, Garden-Review has the practical, UK-specific guidance you need to get it right from the start.
From detailed indoor seed starting tutorials to product reviews covering seed trays, grow lights, and soil mixes, Garden-Review covers every stage of the process for UK beginners. The site includes beginner-friendly sowing schedules, seasonal guides, and step-by-step articles tailored to the UK climate. If you are ready to grow your first garden from seed, the beginner gardening guide is the best place to begin.
Recommended
Frequently Asked Questions
When should I start seeds indoors in the UK?
Can I start seeds indoors without a grow light?
What is the best compost for starting seeds indoors?
How many seeds should I sow per cell or pot?
What are the easiest seeds to start indoors for beginners?
Tags
Comments
Join the conversation
Create a free account to leave comments, share photos, and connect with other gardeners.
Related Articles

Anemone Growing Guide
Anemones are vibrant, hardy perennials ideal for gardens, thriving in various conditions. This guide covers types, planting, care, and blooming tips.

How to grow Dalmatian Bellflowers in your garden?
Dalmatian Bellflowers (Campanula portenschlagiana) are beautiful flowering plants that can add color and charm to your garden. Here’s a step-by-step guide on how to grow Dalmatian Bellflowers:
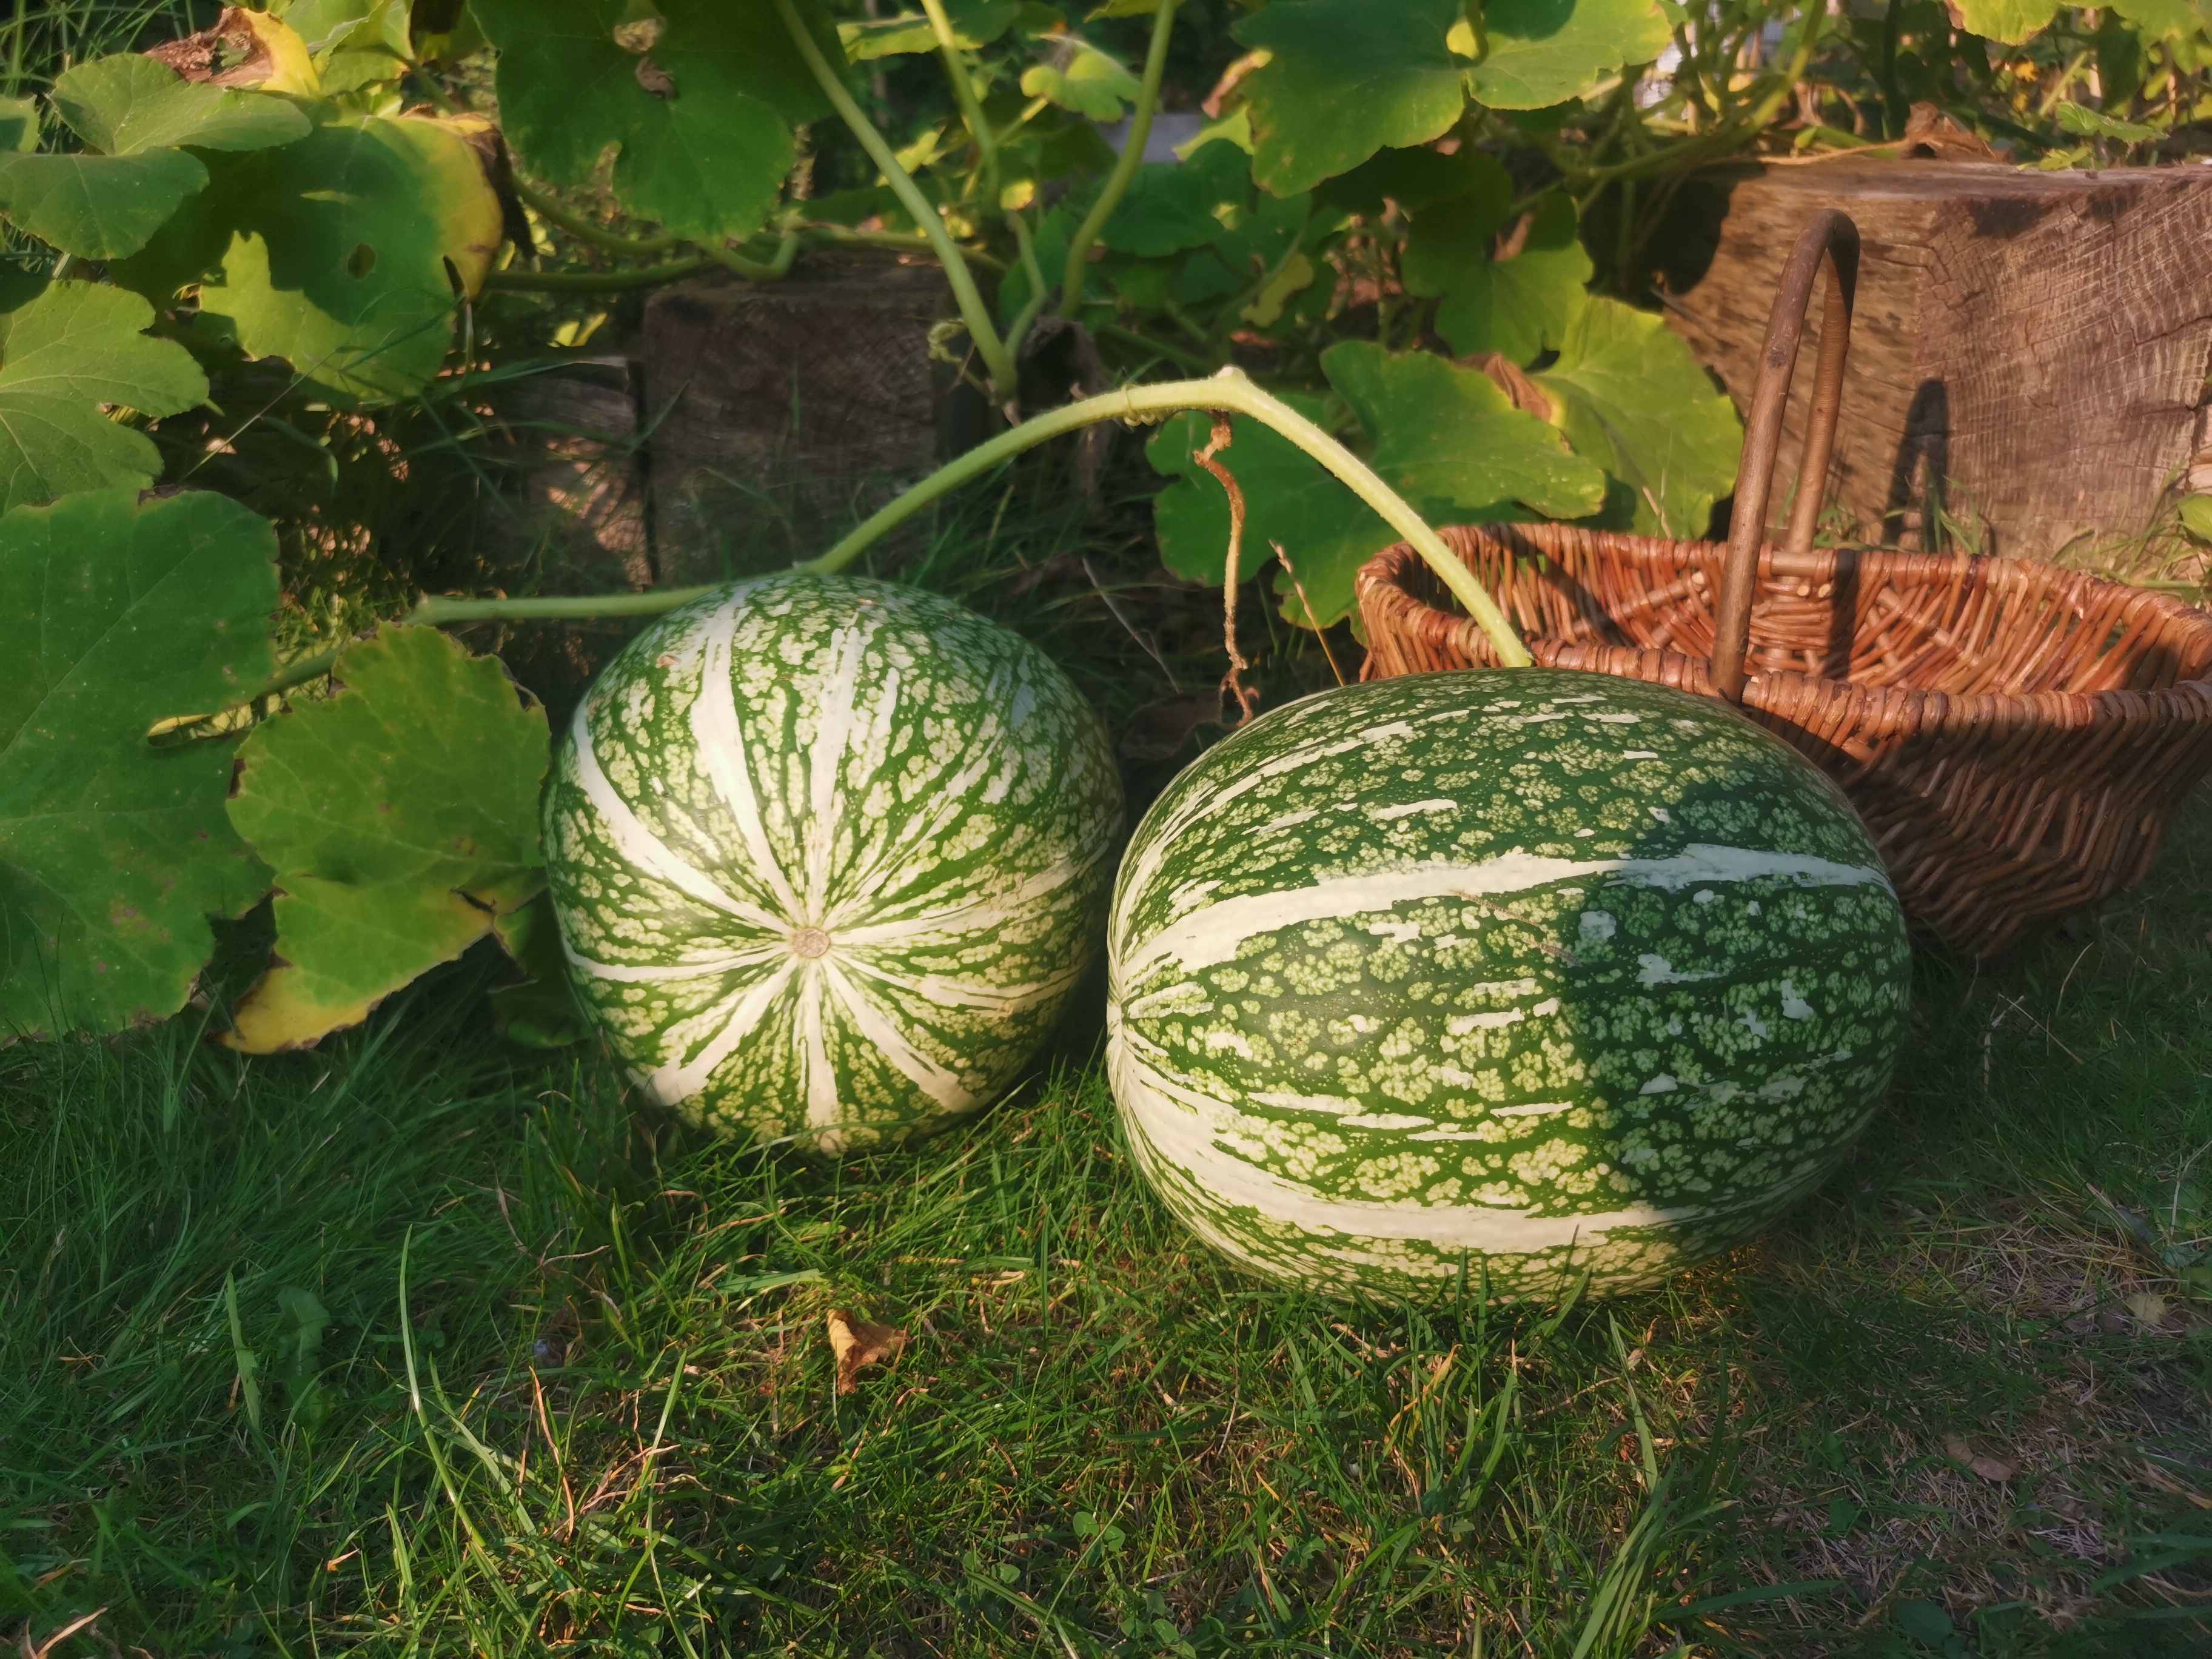
Discovering the Fig Leaf Gourd (Cucurbita ficifolia): Growing, Harvesting, and Culinary Uses in the UK
Learn how to grow, harvest, and cook Fig Leaf Gourds in the UK. Explore its global names and versatile culinary uses, from soups to preserves and desserts.

Can You Grow Pomegranate Trees in the UK?
Pomegranate trees can grow in the UK, particularly in warmer, sheltered areas, but fruiting is inconsistent and depends on climate.

The Three Sisters: A Harmony of Growth in Vegetable Planting
In the ever-evolving world of allotment and vegetable growing, some methods stand the test of time. Among them is the ancient practice of Three Sisters planting, a technique rooted in Indigenous agricultural traditions of the Americas. This time-honoured method not only exemplifies the ingenuity of early growers but also offers a blueprint for sustainable, symbiotic […]
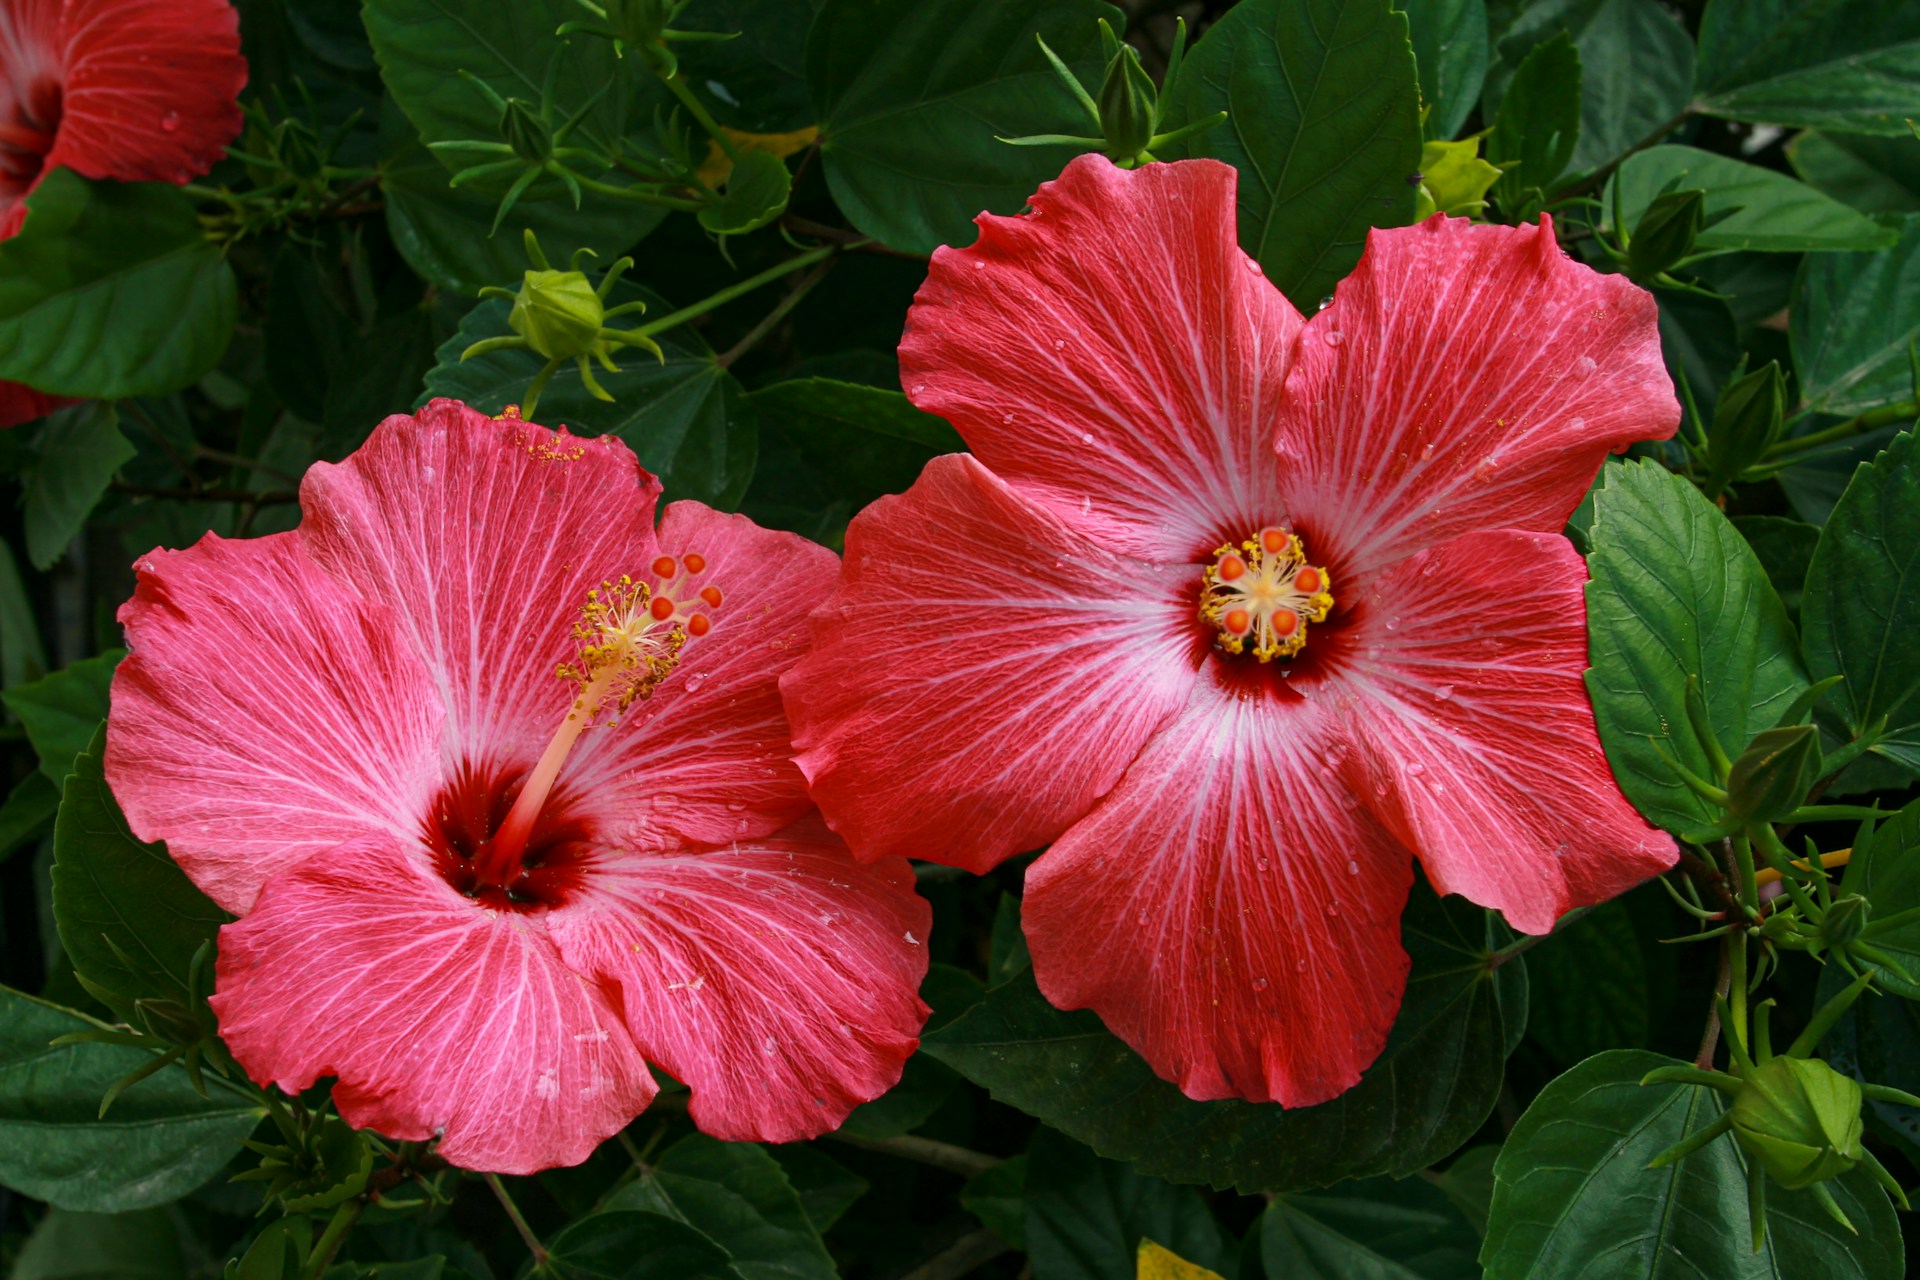
A Guide to Growing Hibiscus and Enjoying These Beautiful Blooms in the UK
Hibiscus flowers are renowned for their vibrant colors and large, showy blossoms. With over 200 species, these tropical beauties can transform any garden into a paradise. If you’re a gardener in the UK, you might wonder if these exotic plants can thrive in your climate. The answer is yes! With the right care and conditions, […]